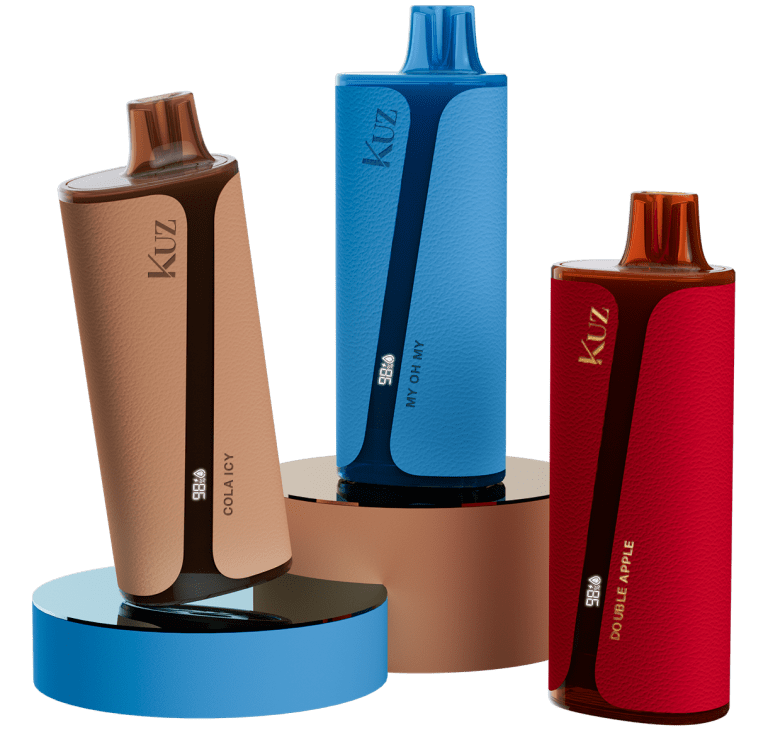
Vape pens have evolved significantly, allowing users to control their vaping experience with adjustable voltage settings. Whether you’re a beginner or a seasoned vaper, understanding how to change the voltage on your vape pen can help you optimize both flavor and vapor production. In this guide, we’ll take you through the steps of adjusting your vape pen’s voltage and offer practical tips to enhance your vaping experience.
Why Adjusting Voltage Matters
Voltage plays a crucial role in determining the intensity of your vaping session. Simply put, higher voltage increases the heat, resulting in larger clouds but with the risk of burning your e-liquid or coil. On the other hand, lower voltage provides a cooler, more flavorful hit. For example, live resin and delta-8 cartridges perform best at lower voltages (2.5-3.3V), preserving the terpene profile for a more flavorful experience.
Steps to Change the Voltage on Your Vape Pen
- Read the User Manual
Always start by consulting your vape pen’s manual. Each model has specific instructions, and familiarizing yourself with your device’s features is essential for safe and optimal use. - Locate the Voltage Adjustment Button
Most modern vape pens have a button or dial that allows users to switch between voltage levels. In many cases, pressing the power button three times in quick succession will toggle the voltage settings. Some pens may have an LED indicator that changes color based on the selected voltage. - Turn Off the Device Before Adjusting
To prevent any accidental activation while changing the voltage, ensure that your device is powered off. This precaution helps protect both you and the pen from potential mishaps. - Start with a Lower Voltage
If you’re trying a new e-liquid or cartridge, it’s wise to start with the lowest voltage setting available. This gives you a chance to taste the liquid without overwhelming your senses. Over time, you can incrementally increase the voltage to achieve larger vapor clouds or a stronger throat hit. - Fine-Tune Your Voltage
Voltage settings vary by cartridge type. For example, a delta-8 cartridge may require a voltage setting between 2.5 and 3.0V, while a distillate cartridge might perform better around 3.5 to 4.0V. Always experiment with small adjustments to find your ideal voltage. - Monitor Battery Life
Adjusting your vape pen’s voltage can significantly impact battery life. Higher voltage settings tend to drain the battery more quickly. Ensure your battery is fully charged to enjoy a longer, uninterrupted vaping session.
Tips for Optimizing Your Vaping Experience
- Match Voltage to Your Coil
Every cartridge or coil has an optimal voltage range. Using the wrong voltage could cause your coil to burn out prematurely or affect the flavor quality of your e-liquid. Always refer to your coil’s resistance to determine the ideal voltage. - Be Mindful of the E-liquid
Thicker e-liquids like distillates require higher voltage, while thinner e-liquids with high terpene content perform best at lower voltages. Adjust accordingly to avoid burning your liquid and enjoy the best flavor. - Experiment with Flavors
Some vapers enjoy experimenting with different voltage settings for the same e-liquid. Higher voltages can sometimes reveal hidden notes in your e-liquid, while lower voltages may highlight its sweetness or freshness. - Ensure Proper Maintenance
Cleaning your vape pen regularly and checking for leaks in the cartridge will prevent voltage issues from arising. A clean, well-maintained device operates more efficiently at any voltage setting.
Conclusion
Changing the voltage on your vape pen allows for a personalized and enhanced vaping experience. Whether you’re looking for bigger clouds, more intense hits, or a richer flavor, voltage adjustments make it possible to tailor each session to your preferences. Always start with a lower voltage and gradually increase until you find your sweet spot. By following the steps and tips outlined above, you’ll be able to enjoy a smooth and satisfying vape session every time.


