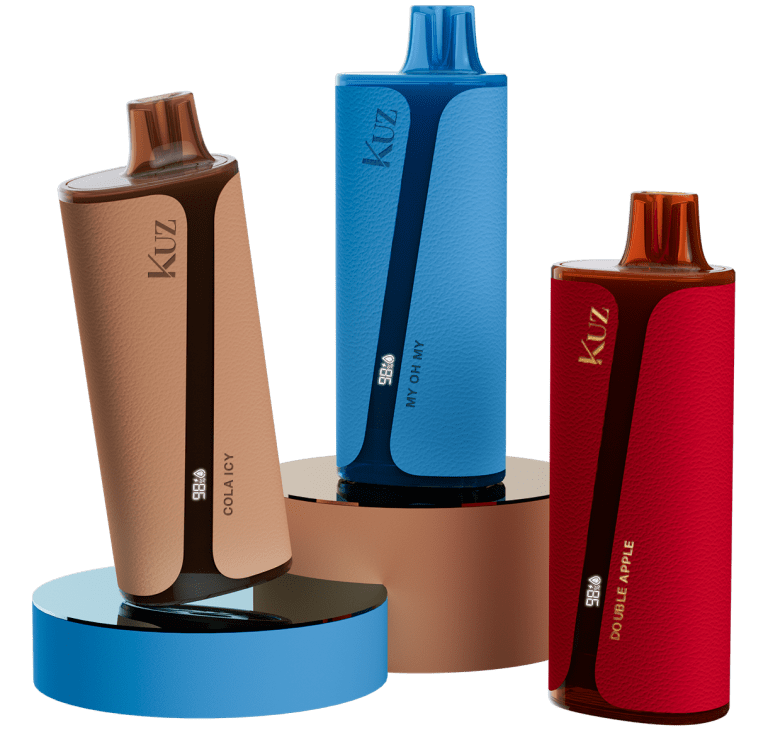
Maintaining your vape device is crucial not only for flavor consistency but also for extending its lifespan. The vape tank, which houses the e-liquid and coil, is the heart of your vape, and keeping it clean ensures you get the most out of every puff. Whether you’re switching flavors or noticing a reduction in performance, it’s time to clean your vape tank.
Why Clean Your Vape Tank?
Residue from e-liquids can accumulate in your tank over time, affecting both the taste and the efficiency of your vape. If you’re experiencing muted flavors or harsh hits, this buildup could be the culprit. Regular cleaning improves performance, ensuring a smoother, more flavorful vaping experience.
When Should You Clean Your Vape Tank?
Ideally, you should clean your vape tank every time you switch e-liquid flavors. Doing so prevents flavor mixing, especially if you’re moving from a strong flavor, like menthol, to a subtle one. Additionally, a thorough cleaning should be performed every two to three weeks to ensure optimal performance.
Materials You’ll Need:
- Warm water
- Paper towels or microfiber cloth
- Optional: Dish soap, vodka, or vinegar for deeper cleaning
- Ultrasonic cleaner (optional)
Step-by-Step Guide to Cleaning Your Vape Tank
- Disassemble the Tank
Start by detaching the tank from the vape mod. Disassemble the components, such as the mouthpiece, glass tube, and coil. Ensure you note how each part fits together, as this will help during reassembly. - Rinse with Warm Water
If you’re doing a quick clean, rinsing the tank components under warm water can be enough to remove the e-liquid residue. If the tank is particularly dirty, soaking the parts in warm water for a few minutes helps loosen stubborn grime. - Use Dish Soap or Alcohol for Deep Cleaning
For a deeper clean, add a couple of drops of dish soap to the water or soak the parts in a mixture of vodka or vinegar. Avoid using harsh chemicals, as they could damage the tank or leave behind an unpleasant taste. Gently scrub each part with a soft toothbrush or cotton swab, focusing on hard-to-reach areas. - Ultrasonic Cleaner Option
An ultrasonic cleaner can be a game-changer if you’re looking for a hassle-free, thorough clean. Commonly used for cleaning jewelry, ultrasonic cleaners send sound waves through water to clean your vape tank effectively. Simply place the tank parts in the cleaner with water (you can add a drop of dish soap) and run it for a 10-minute cycle. - Dry Thoroughly
After cleaning, use paper towels or a microfiber cloth to pat dry the parts. Leave the components to air dry for at least 15 minutes to ensure no moisture remains, which could damage your device. - Reassemble and Enjoy
Once everything is dry, reassemble your vape tank, ensuring all components fit securely. Fill it with your preferred e-liquid and enjoy a clean, flavorful vaping experience!
Tips for Prolonging Vape Coil Life
While cleaning your tank is essential, your vape coils also need attention. Coils should be rinsed with warm water regularly and deep cleaned using alcohol or vodka to remove residue. However, even with proper maintenance, coils will eventually need replacing. If you notice burnt flavors or gurgling sounds, it’s time for a new coil.
Final Thoughts
Regular maintenance of your vape tank not only extends the life of your device but also enhances the overall vaping experience. By following these simple steps, you can ensure that each puff is as flavorful as the first. Cleaning your vape tank isn’t just a chore—it’s an investment in the quality of your vape sessions.


