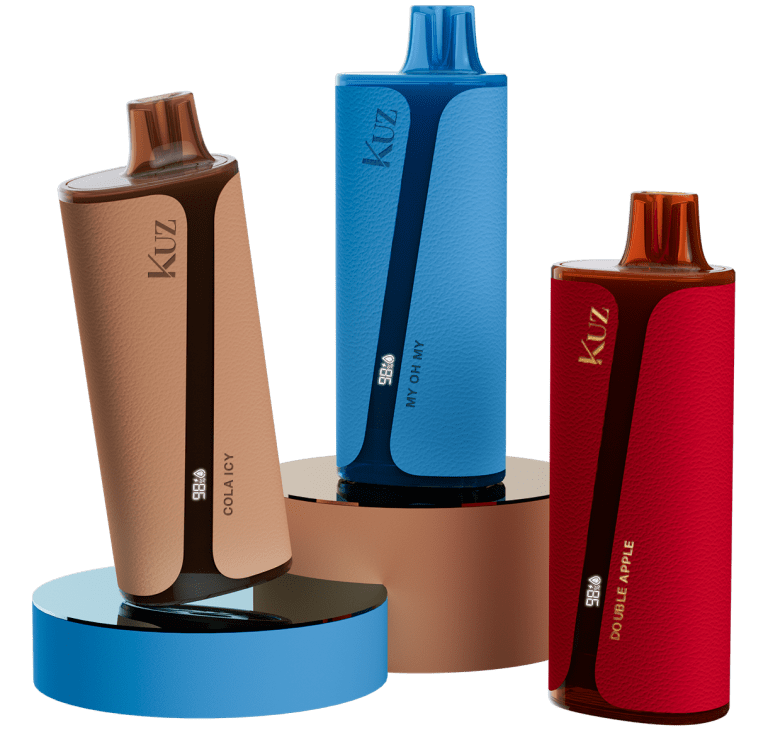
In the world of vaping, personalization is key. While the market offers a plethora of pre-made vape juices, the opportunity to create your own personalized blend offers unmatched satisfaction. Whether you’re looking to save money, experiment with unique flavors, or control the nicotine content, making your own vape juice is a rewarding endeavor.
Why Make Your Own Vape Juice?
Creating your own vape juice is not just about cost savings—though that’s a significant benefit. It’s about controlling every aspect of your vaping experience. From the throat hit provided by the PG/VG ratio to the strength of nicotine and the depth of flavor, DIY vape juice allows you to tailor your experience precisely to your liking.
Ingredients You’ll Need
To get started, you’ll need a few basic ingredients:
- Propylene Glycol (PG): This thinner liquid provides a stronger throat hit and is the carrier for nicotine and flavor.
- Vegetable Glycerin (VG): Thicker and sweeter, VG is responsible for vapor production.
- Nicotine: If desired, this should be handled with extreme care, using gloves to avoid skin absorption.
- Flavor Concentrates: The heart of your vape juice, these concentrated flavors allow for endless customization.
Essential Equipment
You don’t need a lab full of equipment to start mixing your vape juice, but a few tools are essential:
- Measuring Syringes or Digital Scales: For precise measurement of ingredients.
- Mixing Bottles: Preferably with nozzle tips to avoid spills and make pouring easier.
- Safety Gear: Gloves and goggles to protect against spills, especially when handling nicotine.
Step-by-Step Guide to Making Vape Juice
- Prepare Your Workstation: Ensure your mixing area is clean, well-organized, and free from any contaminants. Safety first—wear gloves and goggles.
- Mix Your Base: Combine your desired ratio of PG and VG. A common starting point is 50/50, but you can adjust depending on whether you prefer a stronger throat hit or denser vapor clouds.
- Add Nicotine: If you choose to include nicotine, measure it carefully. Always remember, nicotine is potent and should be added slowly to avoid any mishaps.
- Incorporate Flavor Concentrates: Begin with a lower concentration of flavor, around 10% of the total volume, and adjust based on taste. Remember, you can always add more flavor but can’t take it out once mixed.
- Shake and Steep: Shake the bottle vigorously to ensure all ingredients are well-mixed. Steeping the vape juice in a cool, dark place allows the flavors to develop fully, usually taking anywhere from a few days to several weeks.
- Test and Adjust: After steeping, test your vape juice. If the flavor is too strong, dilute it with more base liquid; if it’s too weak, add more flavor concentrate and let it steep again.
Safety First
Always prioritize safety when making your own vape juice. Handle all ingredients, especially nicotine, with care. Store your supplies in a cool, dark place, out of reach of children and pets. Proper labeling of your mixtures ensures you never accidentally vape the wrong concentration.
Conclusion
Making your own vape juice is an exciting and satisfying journey. It offers the ultimate in customization and the freedom to experiment with flavors that aren’t available commercially. Whether you’re a seasoned vaper looking to refine your experience or a beginner curious about DIY, the steps outlined in this guide provide a solid foundation for creating your personalized vape juice. Happy mixing!


